







Balloon Garland: How to Make and Install One

A balloon garland looks complicated only in photos. In reality it is a few dozen balloons, a string and several fixing points. Most of the headache comes from planning: how many balloons you need, where the garland will hang, who will fix it and how long it will take on the eve of the celebration.
Make it yourself or order a ready-made one
If the celebration is a few days away, there are only a few guests, and the garland will hang on one wall or above a table, making it yourself is simple and cheaper. You only need one person who calmly inflates, groups and fixes the balloons, and a couple of hours.
A home-made garland suits a children’s birthday, a small photo zone, a jubilee or a themed party at home. You will find more ideas on how to combine balloons with other decorations in the balloon decorations guide.
A ready-made installation pays off when you need a large freestanding arch, a tall hall being decorated, or a structure fixed to stairs, a stage or a scaffold. There, improper fixing can damage the surface or endanger guests.
How the two routes differ
| Criterion | Make it yourself | Ready-made installation |
|---|---|---|
| Costs | Lower, but you need a pump and fixing materials | Higher, the price includes labour and installation |
| Time | 1.5-2 hours for a 2-3 m garland if you have a helper | You are left with fewer practical tasks |
| Result | Excellent, usually for a wall or table composition | More even in a large space |
| Risk | Uneven sizes, weak fixing points | Lower, but depends on the agreement |
| Flexibility | You can change it up to the last minute | Changes need to be arranged |
Before buying, list not only the balloons but also the pump, string, hooks, scissors and the time you will realistically spend on fitting.
Colours and theme
Before choosing colours, look at the wall where the garland will hang. Assess the colours of the walls, tablecloth and furniture. In a dark room, too many saturated tones look heavy, while in a light room a pastel composition can sometimes lose contrast.
The three-colour rule works reliably: one main colour, one complementary and one accent. For a children’s birthday, soft pink, cream and white with a gold accent suit well. For a forest or animal theme, dark green, vanilla cream and light brown. For an adult party, dark blue, silver and white look solid.
How to narrow the choice
The main colour should dominate, the complementary colour should connect the composition with the space, and the accent should stay rarer. Treat chrome balloons and transparent balloons with confetti as accents: if there are too many glossy surfaces, they compete with the main colour.
You will find single-colour base balloons in the latex balloons category, and glossy accents among chrome balloons. For a uniform garland, buy all the balloons of one colour in a single order, because shades from different batches or manufacturers may differ slightly.
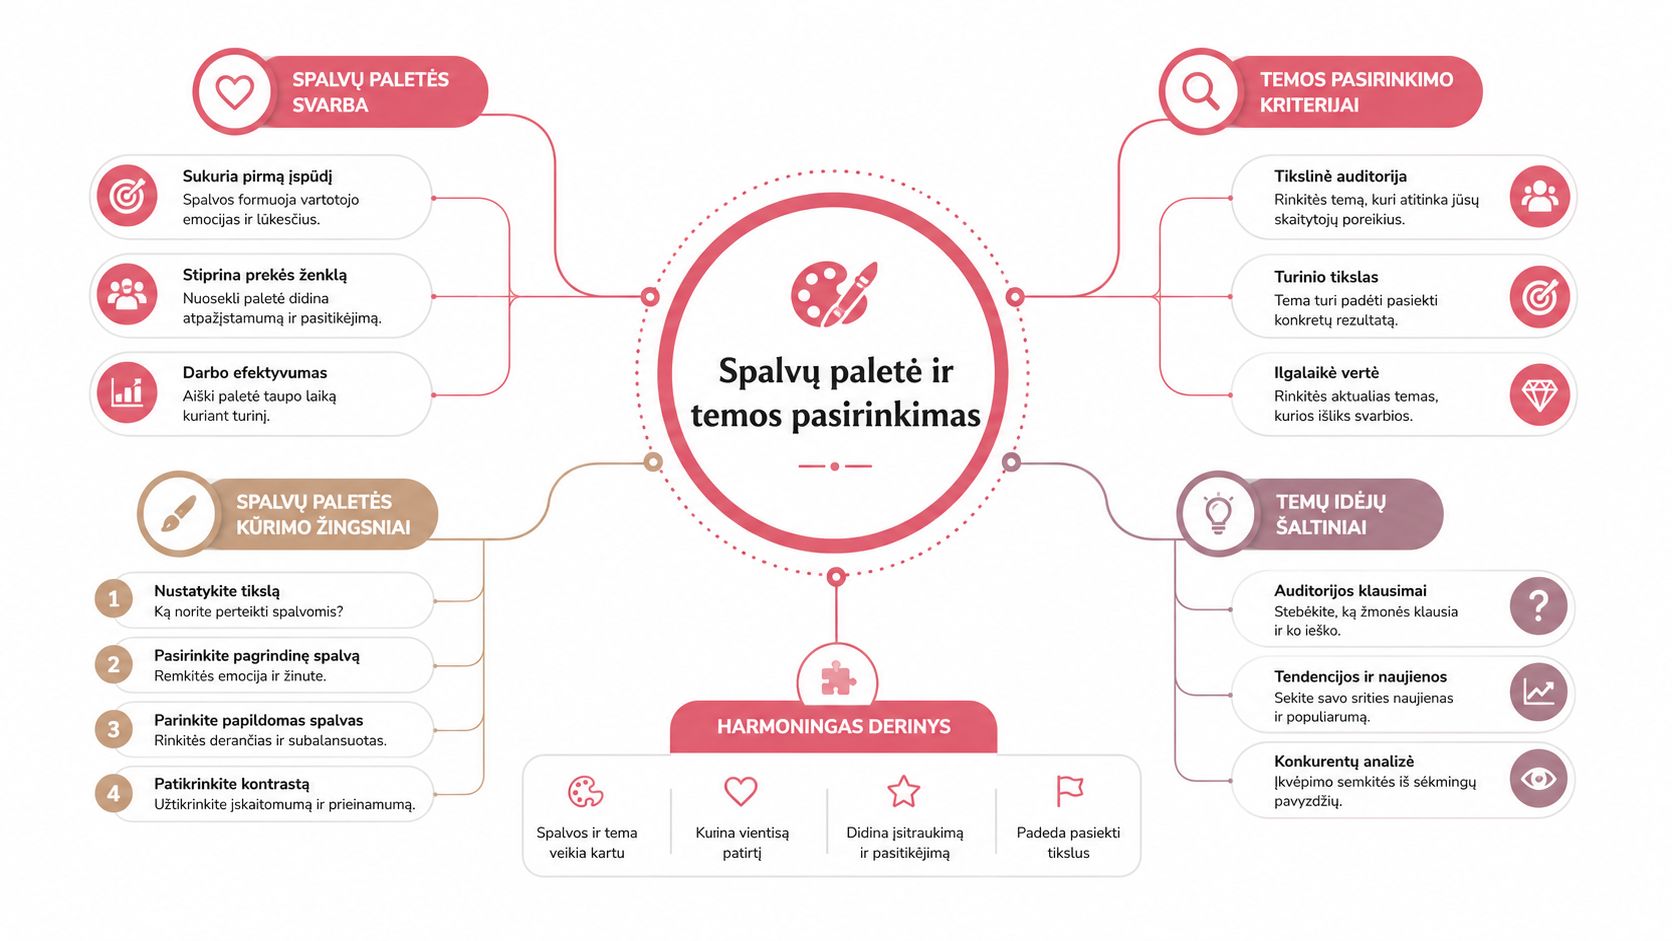
Before inflating all the balloons, place one of each colour against a real wall or tablecloth and look at them in daylight. Phone screens and shop lighting distort shades, while in photos the garland will look as it does by the window.
How many balloons you need and what size
A garland looks full when the balloons are of different sizes. A flat composition results when all the balloons are inflated the same and arranged in one line.
Our single latex balloons are 30 cm, the pastel-colour set balloons are 27 cm, and the bright-colour set includes small 12 cm balloons. Make about half the garland from fully inflated large balloons; they will be the base. Inflate a third only to about 20-25 cm, and fill the gaps with 12 cm balloons or partly inflated larger ones. That is how the “organic” effect is achieved.
Quantity guide by location
| Place | Number of balloons | Full (30 cm) | Medium (20-25 cm) | Small for gaps |
|---|---|---|---|---|
| Photo zone, 1.5-2 m | 90-120 | About 50% | About 35% | About 15% |
| Above a table, 2-2.5 m | 60-80 | Mostly | A few accents | To fill gaps |
This is a practical guide. The exact count depends on whether the garland will be dense or whether you will leave visible gaps. It is most convenient to start with a set and top it up with single balloons: the Eco pastel-colour balloon set contains 50 balloons of 27 cm, and the bright-colour set has 20 small 12 cm balloons for the gaps. You will find more about materials and differences in the balloon types overview.
Foil balloons in a garland suit only as an occasional accent: a heart, a number or a star. They are too heavy and too shiny for the base of any garland.
Assembling the garland step by step, without helium
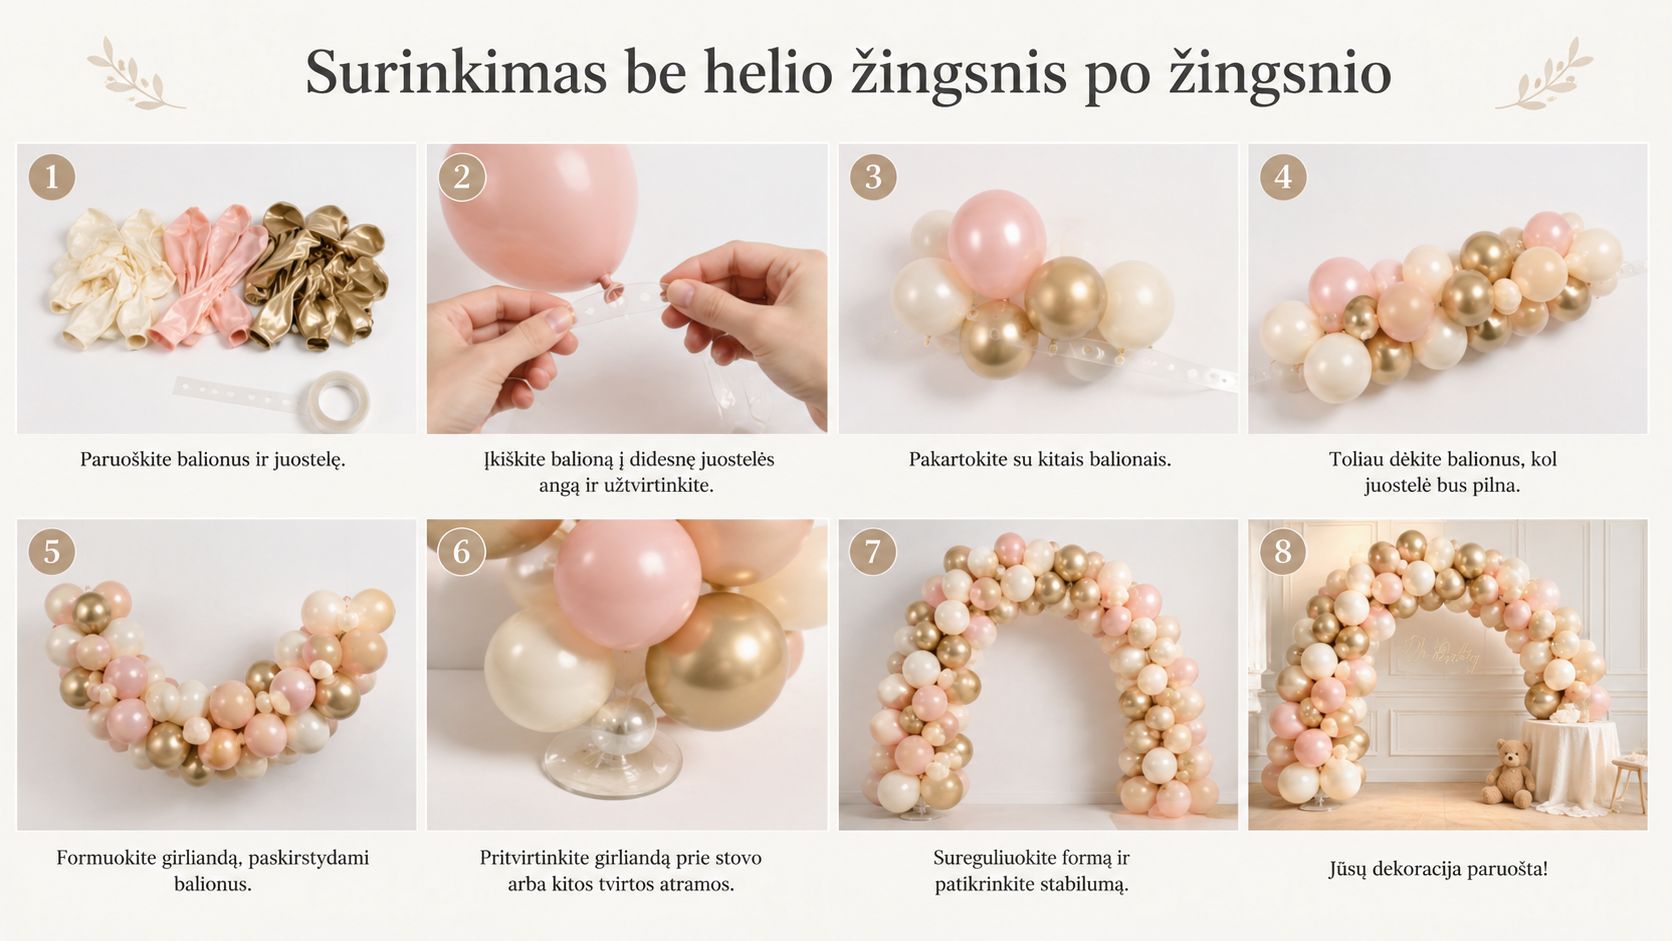
The garland does not need helium: it is held up by the string and fixing points, not by the lifting force of the balloons. Prepare a level work surface, scissors, strong string or fishing line, a hand or electric pump, and balloons sorted by size.
Inflate groups of the same size
For a uniform size, use a cardboard template with a 30 cm, 20 cm and 12 cm hole cut out. An inflated balloon should pass through the hole without deforming. Inflate each size separately and place them in separate piles; you will find them faster later.
Form clusters
Tie two balloons together in a pair, then twist two pairs around each other to get a dense four-balloon “quad”. Such modules quickly fill the space and distribute the weight evenly.
Thread the clusters onto the string
Thread the clusters onto fishing line or strong string, turning each one at a slightly different angle so that the garland is round rather than flat. Leave 15-20 cm of spare string at each end for hanging. Thread the smallest balloons last, once you can see the gaps.
Assembling a 2-3 m garland takes about 1.5-2 hours if the workspace is ready and two people work. One inflates and checks the size, the other ties and threads the clusters.
Fixing and location
On the floor a garland looks great, but the real test is lifting it onto a wall. Choose the fixing method according to the surface and whether the wall must remain undamaged after the celebration.
Small transparent sticky hooks suit painted or plaster walls. Before sticking them, clean off the dust and let the hook adhere according to the instructions. Do not hang the whole garland from a single adhesive strip: the weight spreads unevenly and one side sags.
Pins or screws with a loop suit wooden surfaces. If the walls must not be touched, use a transparent balloon stand (70 cm) for a smaller table composition.
Hanging points plan
- 2 m garland: at least 3 points, one in the centre and one on each side.
- 4 m garland: 5-6 points, so the structure does not twist or sag.
- Arch around a door: at least 8 evenly spaced points.
Outdoors a garland needs extra fixing points, because gusts of wind tear sticky hooks off within minutes. Direct sunlight quickly fades and deflates the latex, so outdoors a garland looks best in the shade.
Safety at a children’s party
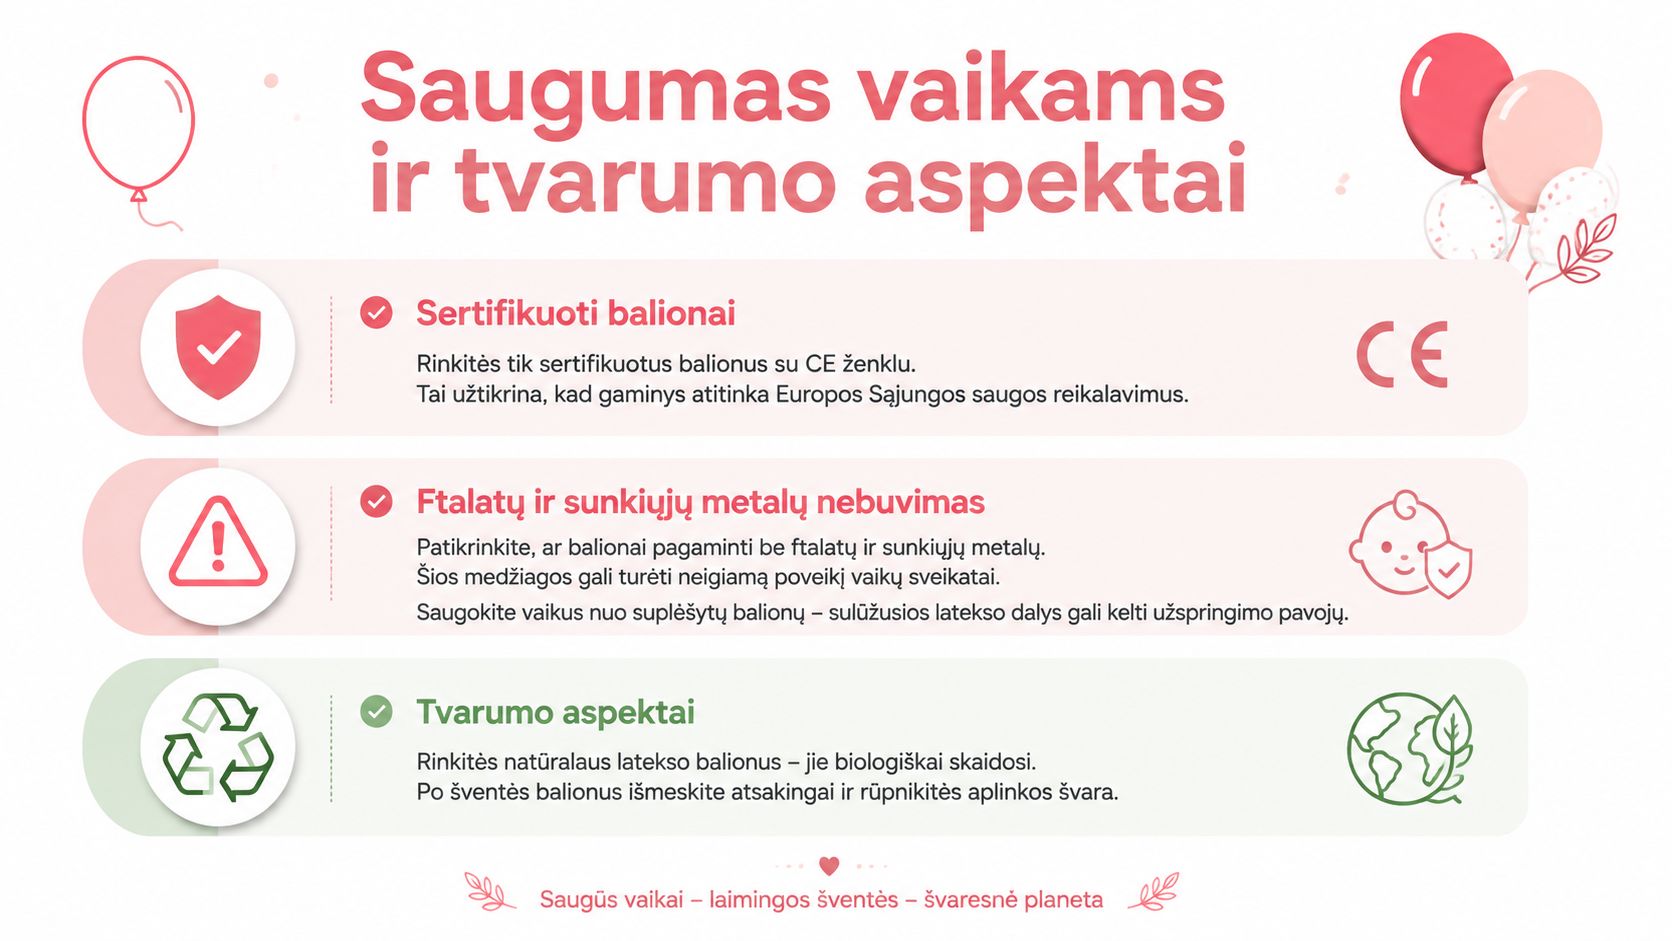
Hang the garland so that the smallest children cannot reach the strings and fixing points. A burst latex balloon breaks into small pieces that a child could put in their mouth, so collect the remains straight away. If some guests are allergic to latex, discuss it with the parents in advance and hang the garland further from the table.
Less waste after the party
Do not inflate spare balloons unnecessarily and do not let them go into the sky. Collect burst balloons into a separate bag; unburst ones can be used again in another composition.
Transport and final touches
A common mistake is to assume the assembled garland can simply be put in the car. A long structure deforms, catches on doors and loses its shape. If the celebration is not at home, transport the clusters separately and thread them on site.
The day before the celebration, keep the balloons in a cool room, away from radiators and sunlight. Hang the garland from the central point, then fix the sides. That way the garland keeps its intended arch.
Spare kit bag
- For fixing: extra string, adhesive tape, a few spare hooks.
- Tools: scissors, pump.
- Spare balloons: 5-10 pieces in the main colour.
- For tidying up: a bag for burst balloons.
Prepare the photo zone 1.5-2 hours before guests arrive, and the table garland 30 minutes before. You will have time to replace a burst balloon or move a hanging point without interrupting the celebration. You will find all the balloons, sets and stands in the balloons category, and you can complement the garland with curtains and paper garlands.

 Table Decorations
 Party Accessories
 Christmas Costumes