





Party Ideas
Shrovetide Mask Drawings: 7 Templates and Ideas for Kids

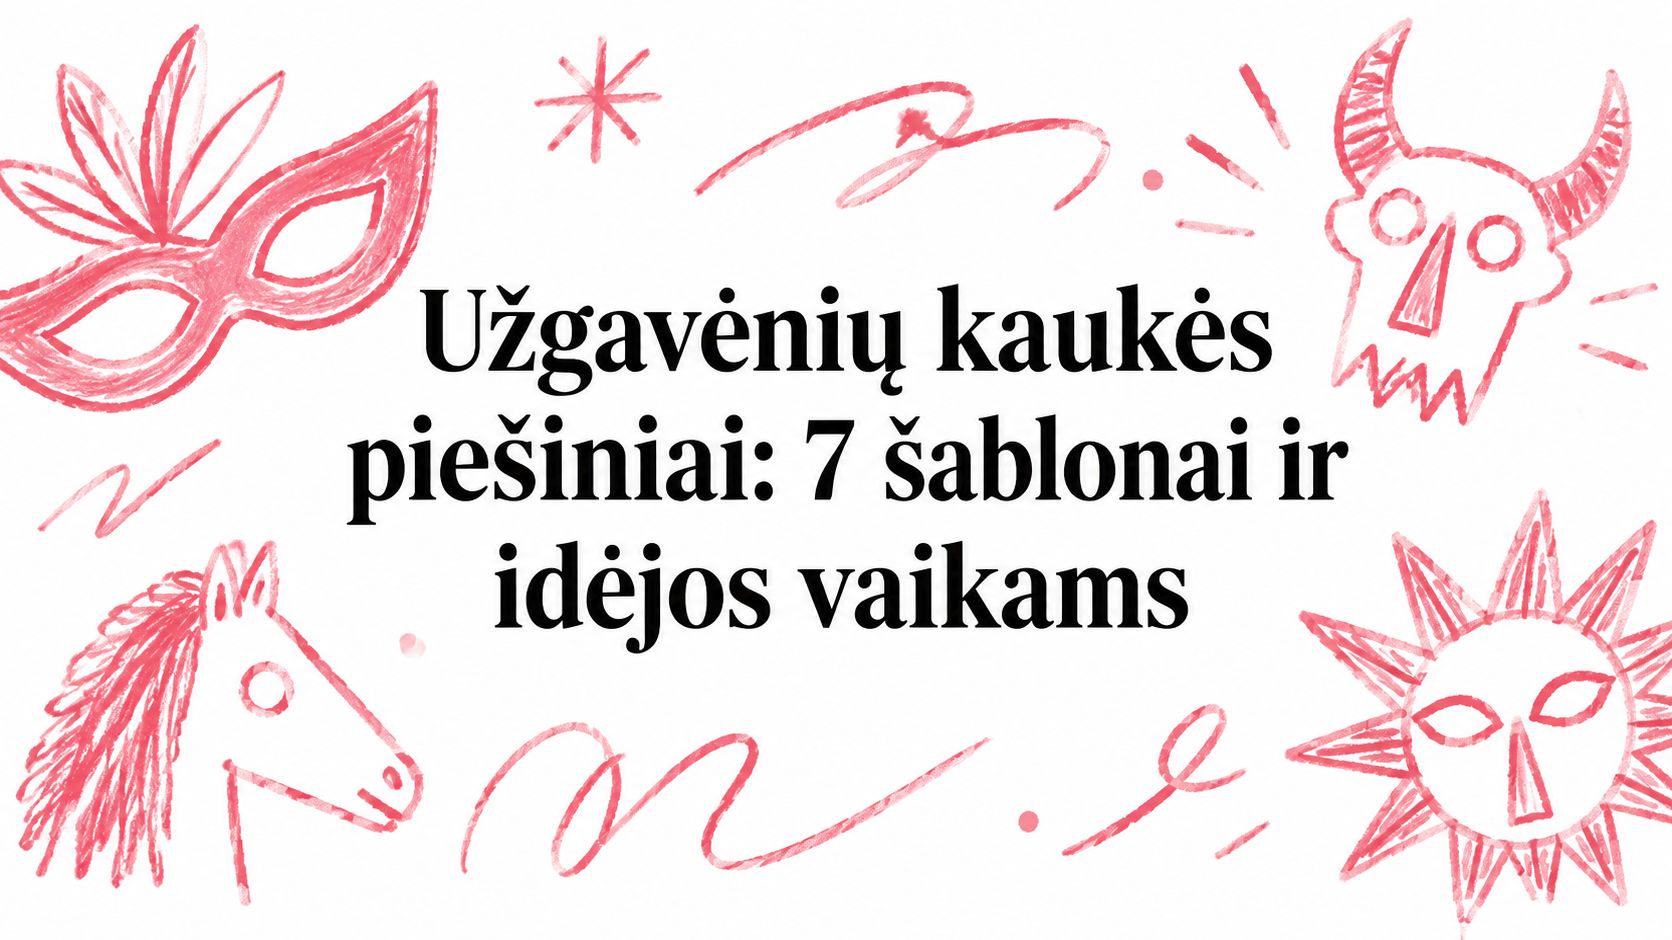
There is little time left before Shrovetide activities, and teachers or parents need not just a quick result but also a meaningful creative process. In that case, Shrovetide mask drawings can serve three different purposes: they can become a coloring activity, a construction mask template, or a starting point for children’s own designs. It is important to choose not just a nice outline, but a task that matches the children’s age, the available materials, and the lesson time.
In Lithuania, Shrovetide is celebrated 46 days before Easter, on the eve of Ash Wednesday, so a mask can help children talk not only about colors and shapes but also about the calendar cycle and traditions. Below, the resources are compared by complexity, classroom suitability, printing, materials, cultural context, and safe assembly.
Contents
- 1. Traditional printable Shrovetide mask templates
- 2. Coloring books and sheets with Shrovetide mask motifs
- 3. Step-by-step guides for drawing a mask
- 4. Museum collection photos as a drawing starting point
- 5. Interactive 3D models and AR experiences
- 6. Community projects and Pinterest boards for ideas
- 7. Templates with 3D effects and folding instructions
- Shrovetide mask drawings: comparing 7 sources
- How to choose the most suitable template
1. Traditional printable Shrovetide mask templates
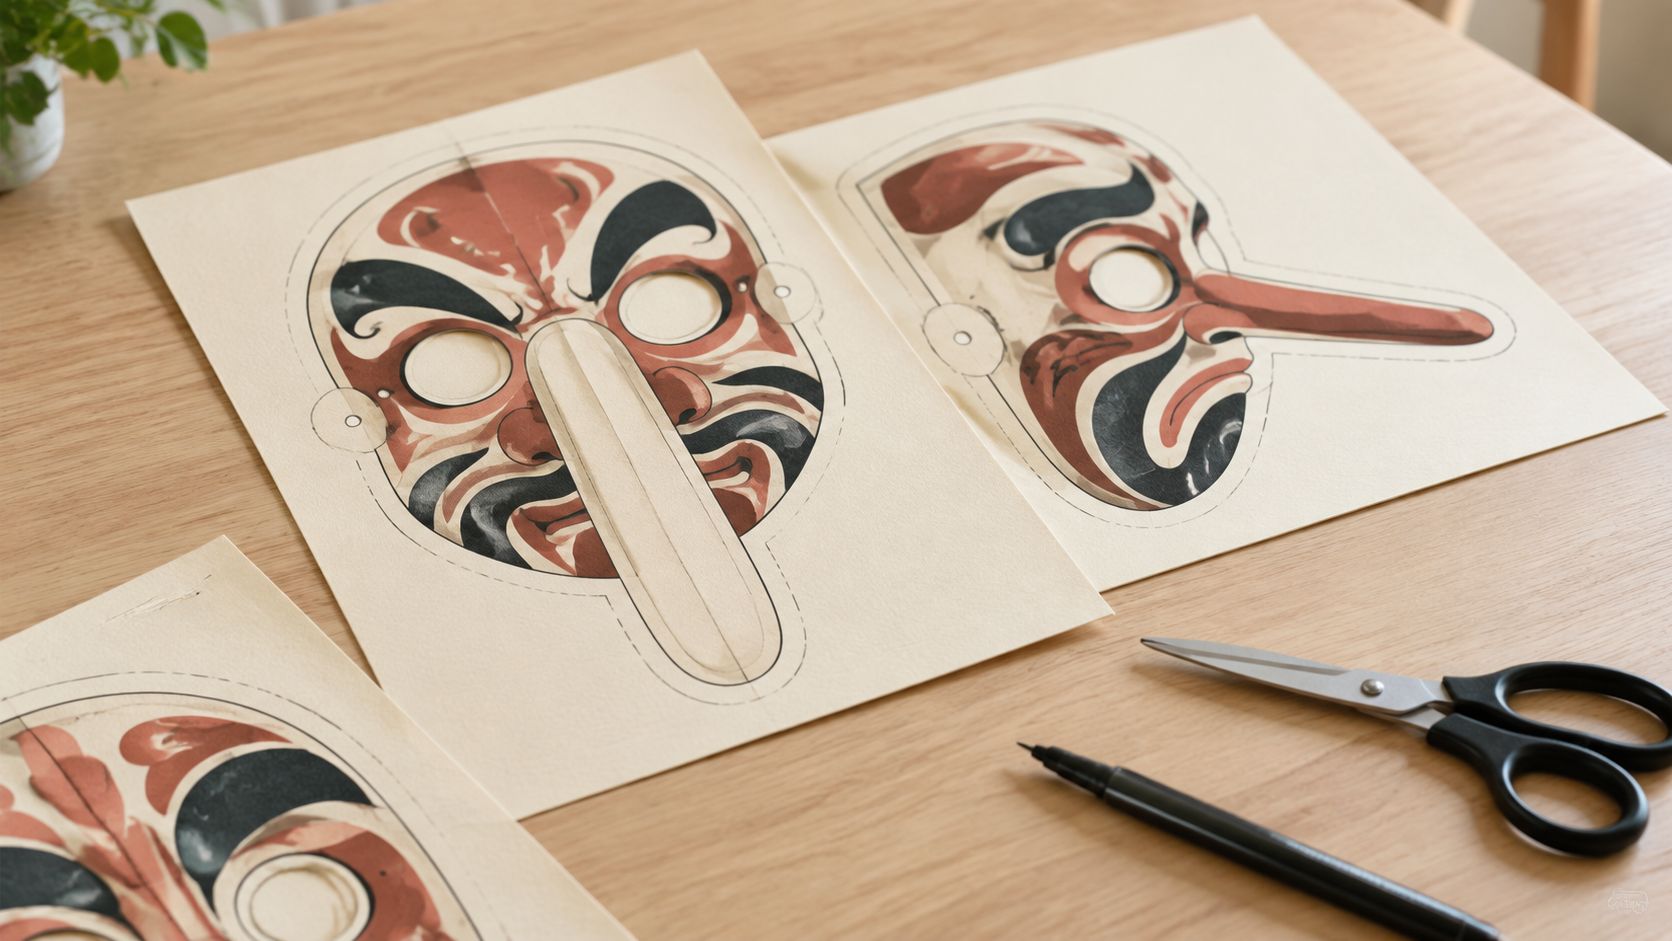
A traditional template is suitable when you want children not only to cut out a face shape but also to recognize the features typical of a Lithuanian Shrovetide mask. In historical masks, bold, deliberately deformed faces are important, along with massive noses, large mouths, mustaches, fur, or wood textures. In Samogitia, such masks are called “licynos,” and the Shrovetide exhibition in Plateliai presents more than 300 different masks, making this place an important reference point for learning about the traditional typology (Visit Plunge).
At school, the teacher can first show a few outlines and ask the children to find the differences between a human, an animal, and a mythical creature’s face. Then the students color, cut out, and add mustaches, paper fur patches, or cardboard details to the template. If the class is large, it is more convenient to choose several main models so that each child can work independently while the results remain varied.
How to prepare a printable base
Print on thicker paper or thin cardboard. Before the activity, check that the template fits properly on the sheet, that the eye holes are clearly marked, and that children will not need to cut complex, tiny outlines.
Practical rule: first let the children color and decorate the flat mask, and only then cut it out. This way the edges get less smudged, and it is easier to keep a clear facial silhouette.
Attach the elastic band or ties under adult supervision. It is best to prepare the holes in advance and reinforce the attachment points with an extra piece of cardboard. If you are looking for other face masks or carnival accessories, ideas can be found in the carnival masks section.
2. Coloring books and sheets with Shrovetide mask motifs
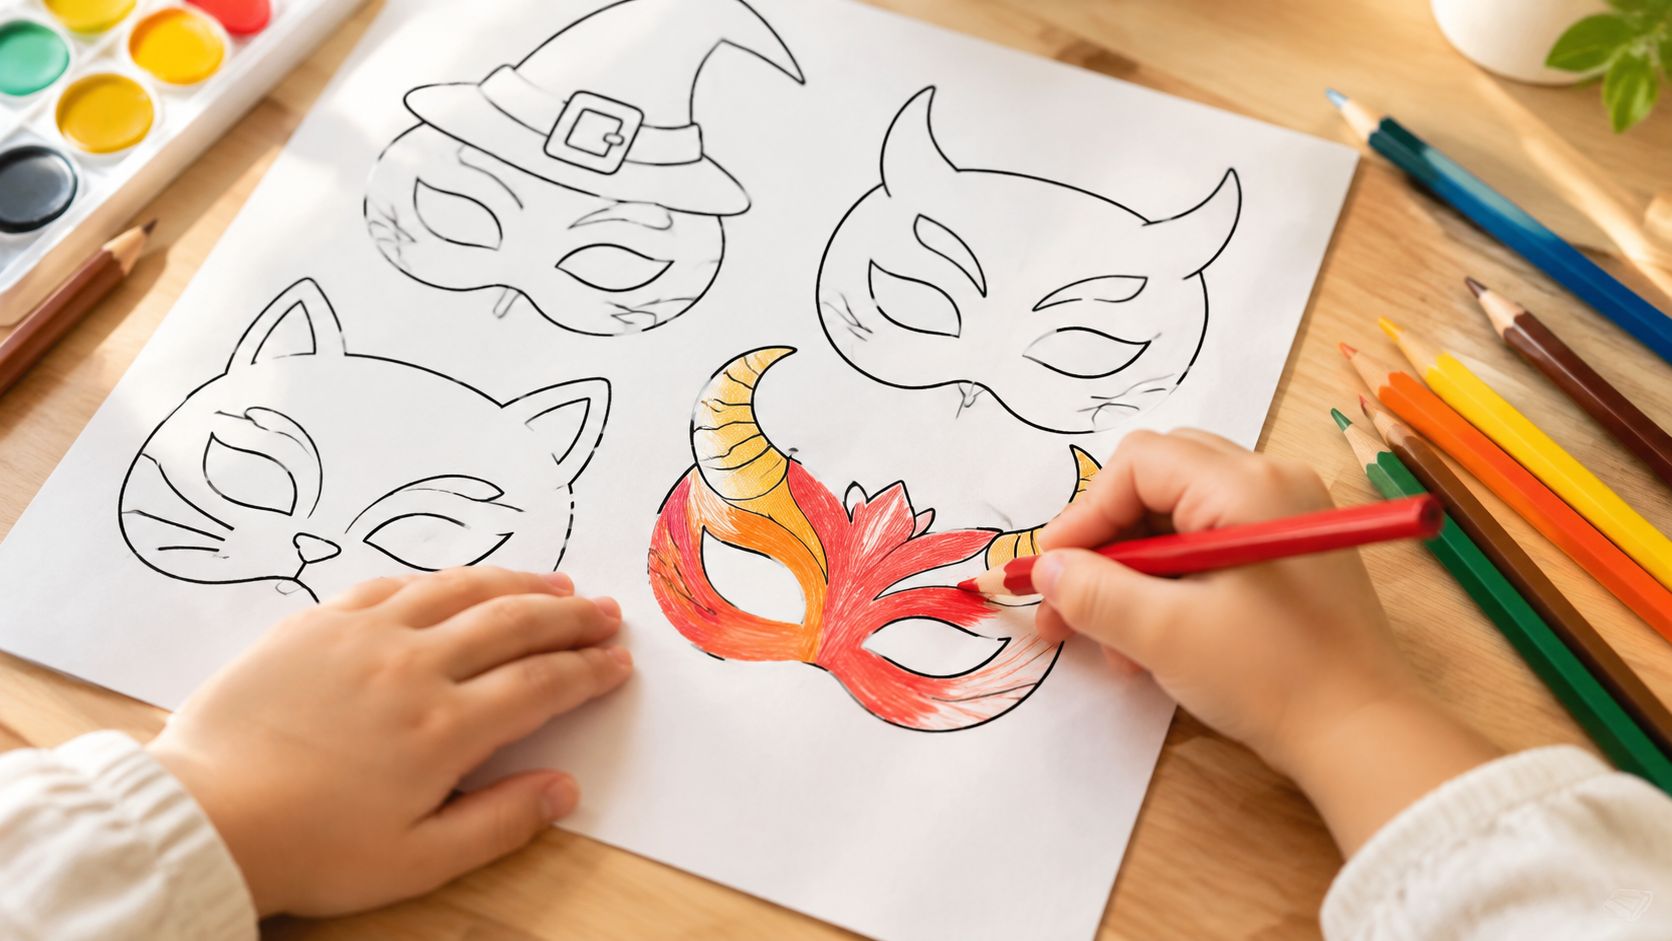
Coloring sheets are the simplest way to start an activity with younger children or a class where students have different levels of art skills. An outline drawing reduces the fear of starting from a blank page, and the teacher can discuss why Shrovetide characters often have exaggerated noses, teeth, horns, mustaches, or hair.
This activity does not necessarily have to end with just a colored sheet of paper. A child can choose a color combination, explain what character they are creating, and then draw a mask based on their coloring work on a separate piece of cardboard. This way, coloring becomes a trial run before the construction work, rather than a separate task detached from tradition.
How to turn a coloring sheet into a learning activity
Before handing out the sheets, briefly show the differences between animal, mythical creature, and social characters. The oldest masks in Lithuania depicted animals, plants, or mythical creatures, because they were associated with the forces of nature, cyclicity, and images of the afterlife (Bernardinai).
Children can be offered a choice of several ways of working:
- Color exploration: use pencils, markers, watercolors, or pastels and discuss how color changes a character’s mood.
- Character description: below the drawing, the child writes what the mask depicts and what detail makes it stand out.
- Class gallery: the colored sheets become Shrovetide decorations, and students briefly present their choices.
- Transition to a template: a thicker, wearable version of the mask is created based on the coloring work.
If the mask will only be used for decoration, simpler paper can be chosen. If it needs to be cut out and worn, it is more convenient to use a sturdier base. Additional mask options for children can be viewed in the children’s face masks category.
3. Step-by-step guides for drawing a mask
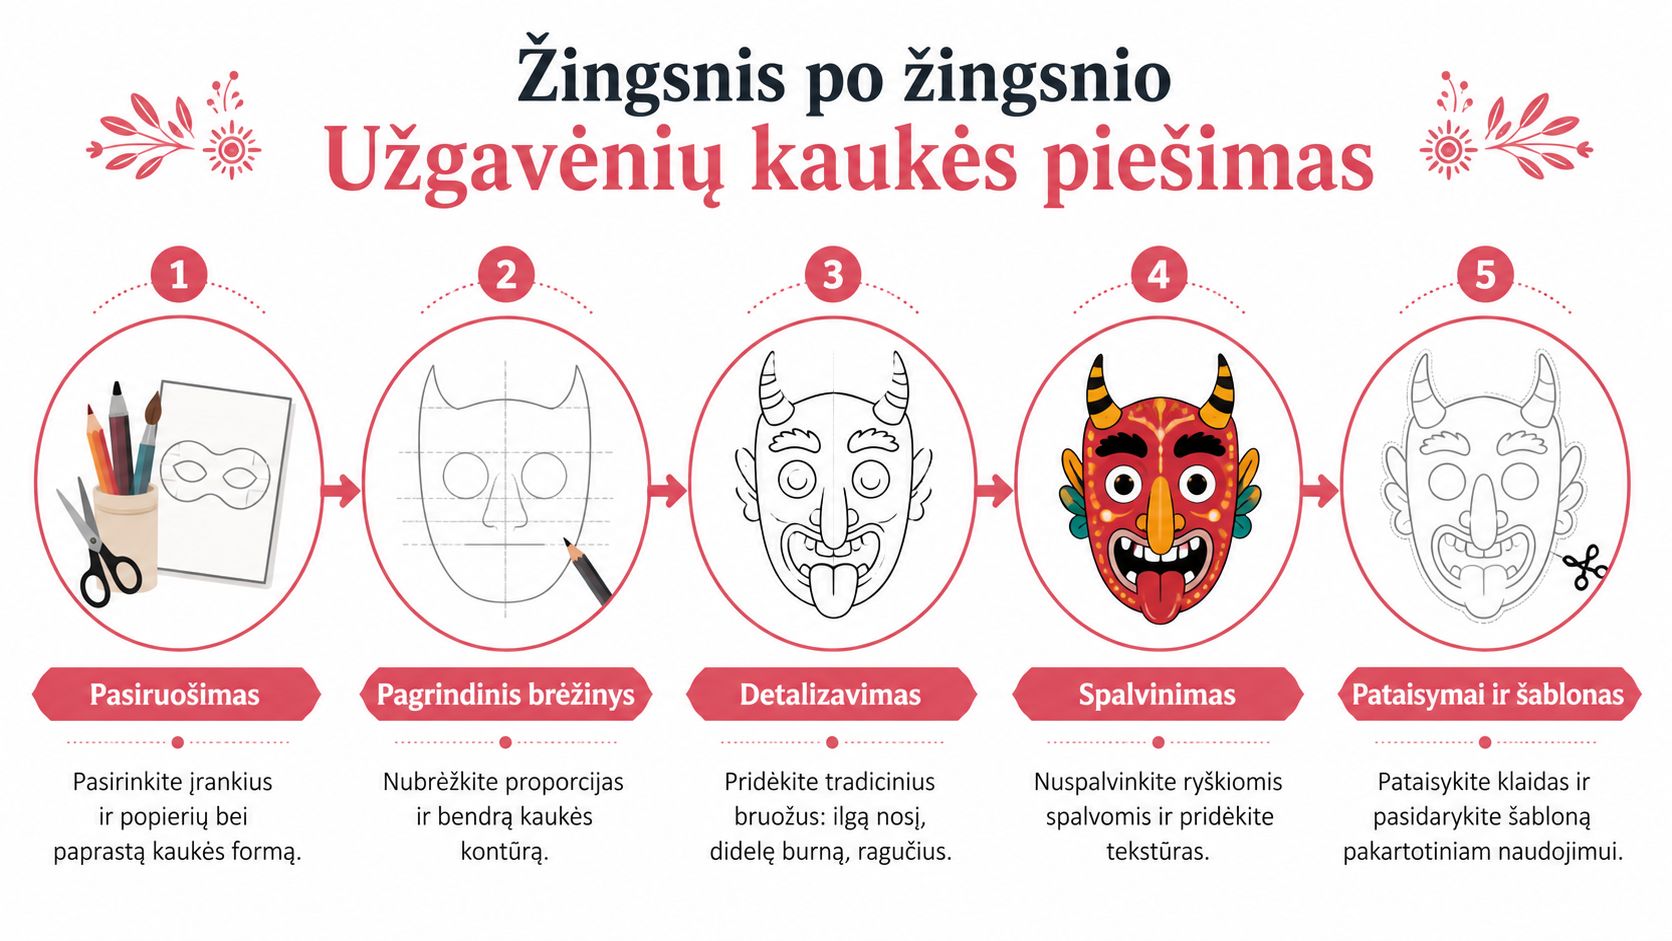
When a child wants not to color a ready-made outline but to create their own Shrovetide mask drawing, a visual sequence helps. A video lesson or PDF can show how to move from simple geometric shapes to the nose, mouth, eye holes, horns, mustache, or fur texture. This progression is especially useful for students who say they can’t draw, because the task is broken down into small steps.
Start the lesson with one model. Draw a round, oval, or triangular base on the board, mark the central face line, and only then add asymmetric features. A traditional mask should not look like a regular portrait. In the Lithuanian Shrovetide imagery, a strong silhouette and an expressive, sometimes deliberately crude face are important (Alkas).
A simple drawing sequence for kids
The teacher can use the following sequence on the board:
- Basic shape: choose a circle, oval, or angular face.
- Eye placement: draw one horizontal guide line.
- Recognizable feature: add a long nose, horns, teeth, mustache, or animal ears.
- Texture: use short lines to show fur, bark, feathers, or a beard.
- Color: choose a few main colors and highlight the most important detail with one color.
It is worth watching the video before the activity so the teacher can pause at complex points and avoid overwhelming the children with too many details. Older students can draw the same sequence several times, while a partial outline can be prepared in advance for younger ones, which they finish with their own features.
“First the shape is recognized, only later comes the decoration.”
It is important to distinguish the drawing from the final wearable item. If the children will make a mask out of paper, mark the eye holes, attachment points, and edges that should not be covered by decorations in advance on the drawing.
4. Museum collection photos as a drawing starting point
A museum photo helps children explore a specific mask rather than a generic carnival face. Looking at the exhibit, they can notice the material, surface roughness, asymmetry, the size of the eye holes, and which details would remain visible from a distance. Such a source is suitable for art, ethnoculture, or an integrated lesson, where the drawing also becomes a cultural learning task.
Images from the Plateliai exhibition allow comparison of different forms of traditional “licynos” and help understand that masks do not have a single required model. The sources mention a large regional collection that has grown over time. The teacher can choose one photo for younger children and present several examples for comparison to older ones.
A task based on a single photo
Show a chosen mask and ask the children not to copy it directly. Let them identify three features, for example, the shape of the nose, the surface texture, and the color mood, then create a new character. This way, the source works as a starting point rather than a strict template.
Specific questions help with the exploration:
- Shape: is the face round, angular, elongated?
- Material: what does the surface resemble, wood, fur, birch bark, or cardboard?
- Character: what person, animal, or creature does the mask depict?
- Visibility: which detail would stand out in a crowd of costumed revelers?
Masks in Lithuania were made of wood, birch bark, fur, linen fiber, paper, and cardboard (Alkas). This information can be turned into a practical activity: with different lines, children imitate bark, fur, or crumpled paper in their drawing.
Additional decorations and Shrovetide supplies can be found in the Shrovetide category. Museum photos used for public or commercial work should be cleared with the institution before printing or distributing, as not every image is allowed to be freely copied.
5. Interactive 3D models and AR experiences
Three-dimensional resources help children understand that a mask is not just a flat drawing. A child can see how a protruding nose, eyebrows, or horns change the proportions of the face, and by using an AR app, try out how a chosen model would look on their own face. This is an appealing start to a technology and culture lesson.
Still, an AR or VR experience should not replace actual drawing and making. On screen, a mask looks perfectly regular, but on paper you need to plan for folds, eye holes, edge sturdiness, and a comfortable size. Therefore, a mixed process works best: a digital model is used to test the idea, and the final drawing is made by hand.
How to connect technology with tradition
The lesson can start with a digital face, then children can be asked to identify which detail resembles a traditional mask. For example, they can choose an animal feature, an exaggerated nose, or a rough-surface imitation and transfer it to a cardboard template. This way, technology becomes an observation tool rather than mere entertainment.
Files prepared for 3D printing may not be suitable for school if there is no equipment, materials, or adult supervision. A simpler option is a phone AR app, but before the activity check whether it works on the available devices, whether it requires an account, and whether it collects more children’s data than necessary.
- For younger children: use only a short observation and one drawing task.
- For older students: ask them to compare a flat sketch with a three-dimensional model.
- For the whole class: set a clear screen time limit and plan an activity without technology.
6. Community projects and Pinterest boards for ideas
Social media boards can be useful when a teacher or child does not yet know which character to choose. There you can find sketches of animals, witches, devils, goats, merchants, and other Shrovetide characters, decorating methods, and paper constructions. However, this kind of search has a limitation. An abundance of images does not always mean cultural accuracy.
The traditional repertoire features recognizable types, but their depiction has changed over time. Ethnological descriptions also mention social characters, and contemporary practice increasingly suggests critically evaluating stereotypical images and choosing other characters instead (Bernardinai).
How to search for more than just a pretty image
Use precise phrases in your search, such as “Shrovetide mask paper,” “traditional Lithuanian mask,” “Samogitian licyna.” When you find an image you like, check the original source, author information, and permission to use the drawing in a public project. In the classroom, it is better to create your own interpretation than to reproduce a single picture.
The teacher can create a small digital board where children select not ready-made masks but individual elements:
- Silhouettes: wide, angular, or elongated faces.
- Details: horns, ears, mustaches, teeth, feathers.
- Surfaces: lines, dots, paper scraps, paint strokes.
- Characters: animals, mythical creatures, or neutral comic figures.
This way, online resources become a bank of ideas rather than a place for uncritical copying. It is worth explaining to children that creative work can be inspired by a photo but must have its own solution.
7. Templates with 3D effects and folding instructions
If you want to go from drawing to a wearable mask in a single activity, choose a template with folding lines, numbers, and marked connection points. Such models allow you to shape a raised nose, eyebrows, cheeks, or other relief from a flat sheet. The child sees a direct connection between the drawn detail and the construction.
This task is more suitable for children who can already follow multi-step instructions. For younger students, an adult should prepare the main cut-out parts in advance, leaving the coloring, folding along the lines, and simpler assembly to the children.
A safe assembly scenario
Assemble one sample yourself before the class activity. This way you will see whether the instructions are clear, whether the attachment points are strong enough, and whether the mask does not restrict vision. The eye holes must remain open, and the edges must not be sharp.
Use only tools appropriate for the children’s age. Distribute scissors according to the students’ abilities, and entrust hole punching, fasteners, and elastic band attachment to an adult or carry them out under supervision.
Safety check: before wearing the mask, check the field of vision, breathing comfort, attachment stability, and whether the decorations are not coming loose.
Color markings help children follow the instructions, but they should not overshadow the cultural content. Before folding, ask students to draw the traditional feature that will be most important on the mask. This could be an animal snout, a large mouth, a mustache, or a rough surface texture.
Shrovetide mask drawings: comparing 7 sources
| Product | Main features ✨ | Quality / experience ★ | Price / value 💰 | Target audience 👥 | Standout advantages 🏆 |
|---|---|---|---|---|---|
| Traditional printable Shrovetide mask templates | Authentic PDFs, several difficulty levels, LT/EN instructions | ★★★★★ Authentic, professional | 💰 Affordable (often free PDFs) | 👥 Schools, museums, educators | 🏆 Cultural authenticity, thorough instructions |
| Coloring books and sheets with Shrovetide motifs | 50+ designs, A4/A3, color palettes, printable | ★★★★ Easy, child-friendly | 💰 €0.50–2/sheet; book €15–25 | 👥 Kindergartens, young pupils, families | 🏆 Encourages creativity, suitable for large groups |
| Step-by-step lessons (video + PDF) | 5–10 min video, 20–30 pages PDF, several levels, multiple languages | ★★★★★ Visual, professional instruction | 💰 Free–paid (depends on format) | 👥 Teachers, artists, older students | 🏆 Thorough levels, professional instructors |
| Links and reference photos from museums | High resolution, regional classification, history | ★★★★★ Professional, historical | 💰 Free for educational use; permission required for commercial use | 👥 Designers, researchers, art educators | 🏆 Authentic inspiration from museum collections |
| Interactive 3D/AR/VR mask templates | AR app, 3D files (STL/OBJ), size adjustment | ★★★★ Modern, real-time visualization | 💰 App €0–5; 3D printing €15–50 | 👥 Tech enthusiasts, creators, innovative classrooms | 🏆 AR visualization, precise 3D-ready modeling |
| Community projects and Pinterest/Instagram ideas | Thousands of photos, filters, collections | ★★★ Varying quality; quick source of inspiration | 💰 Free | 👥 DIY creators, anyone seeking inspiration | 🏆 Unlimited variety, community support |
| Innovative templates with 3D effects and assembly instructions | Fold lines, numbered steps, several sizes | ★★★★ Quick assembly, wearable mask | 💰 Affordable (low printing costs) | 👥 Kindergartens, primary schools, families, events | 🏆 Fast 3D effect, complete assembly solution |
How to choose the most suitable template
When choosing, first evaluate not the beauty of the mask, but the purpose of the activity. Coloring sheets are suitable for a start, for younger children, and for situations when you want a quick, low-risk activity. They also help children try out colors before moving on to a more complex model.
Traditional printable templates are best suited for a cultural learning lesson. Using them, you can discuss the meaning of “licynos,” older materials, and why mask features are often exaggerated. Step-by-step guides are convenient for independent drawing, especially when a child wants to create a character from a blank page. Museum photos are most useful as inspiration, since they allow analysis of real shapes, textures, and regional distinctiveness.
If time is limited and children need not just a drawing but also a wearable mask, choose a 3D folding template. AR tools can engage the class and help them understand three-dimensional form, but they require working devices, prior checking, and clear usage rules.
Prepare practically before the activity:
- Paper: choose a thickness that children can cut but that will still hold the mask’s shape.
- Age: assess whether fine details, folding lines, and attachment tools are suitable for the children.
- Tools: prepare scissors, drawing supplies, glue, ties, and protection for the work surface.
- Copyright: check whether museum photos, online drawings, or PDFs can be used publicly.
- Test model: assemble one sample before distributing materials and check that the mask is safe to wear.
If you need other accessories or decorations for a Shrovetide activity, you can arrange everything in one place, for example, Festive.lt. Most importantly, the final work should remain not just colorful, but should also explain which character the child chose and what features connect it to the Lithuanian Shrovetide tradition.
Festive.lt offers carnival masks, accessories, decorations, and Shrovetide-themed products, and a plain white face mask suitable for drawing can become the basis for a unique design. Visit Festive.lt if you want to stock up on practical supplies for a children’s workshop or holiday preparation.
 Table Decorations
 Party Accessories
 Christmas Costumes